


So four weeks ago now- with the ceiling double coated, the walls double coated with the ‘grout’ color, I set out to make my bricks.
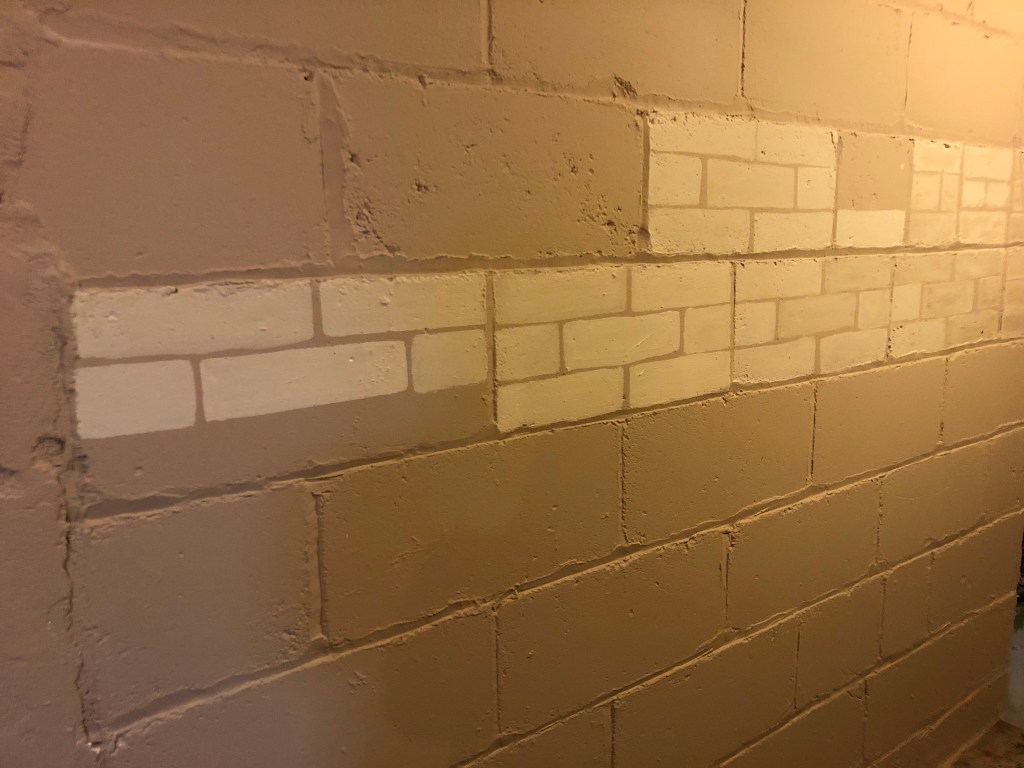
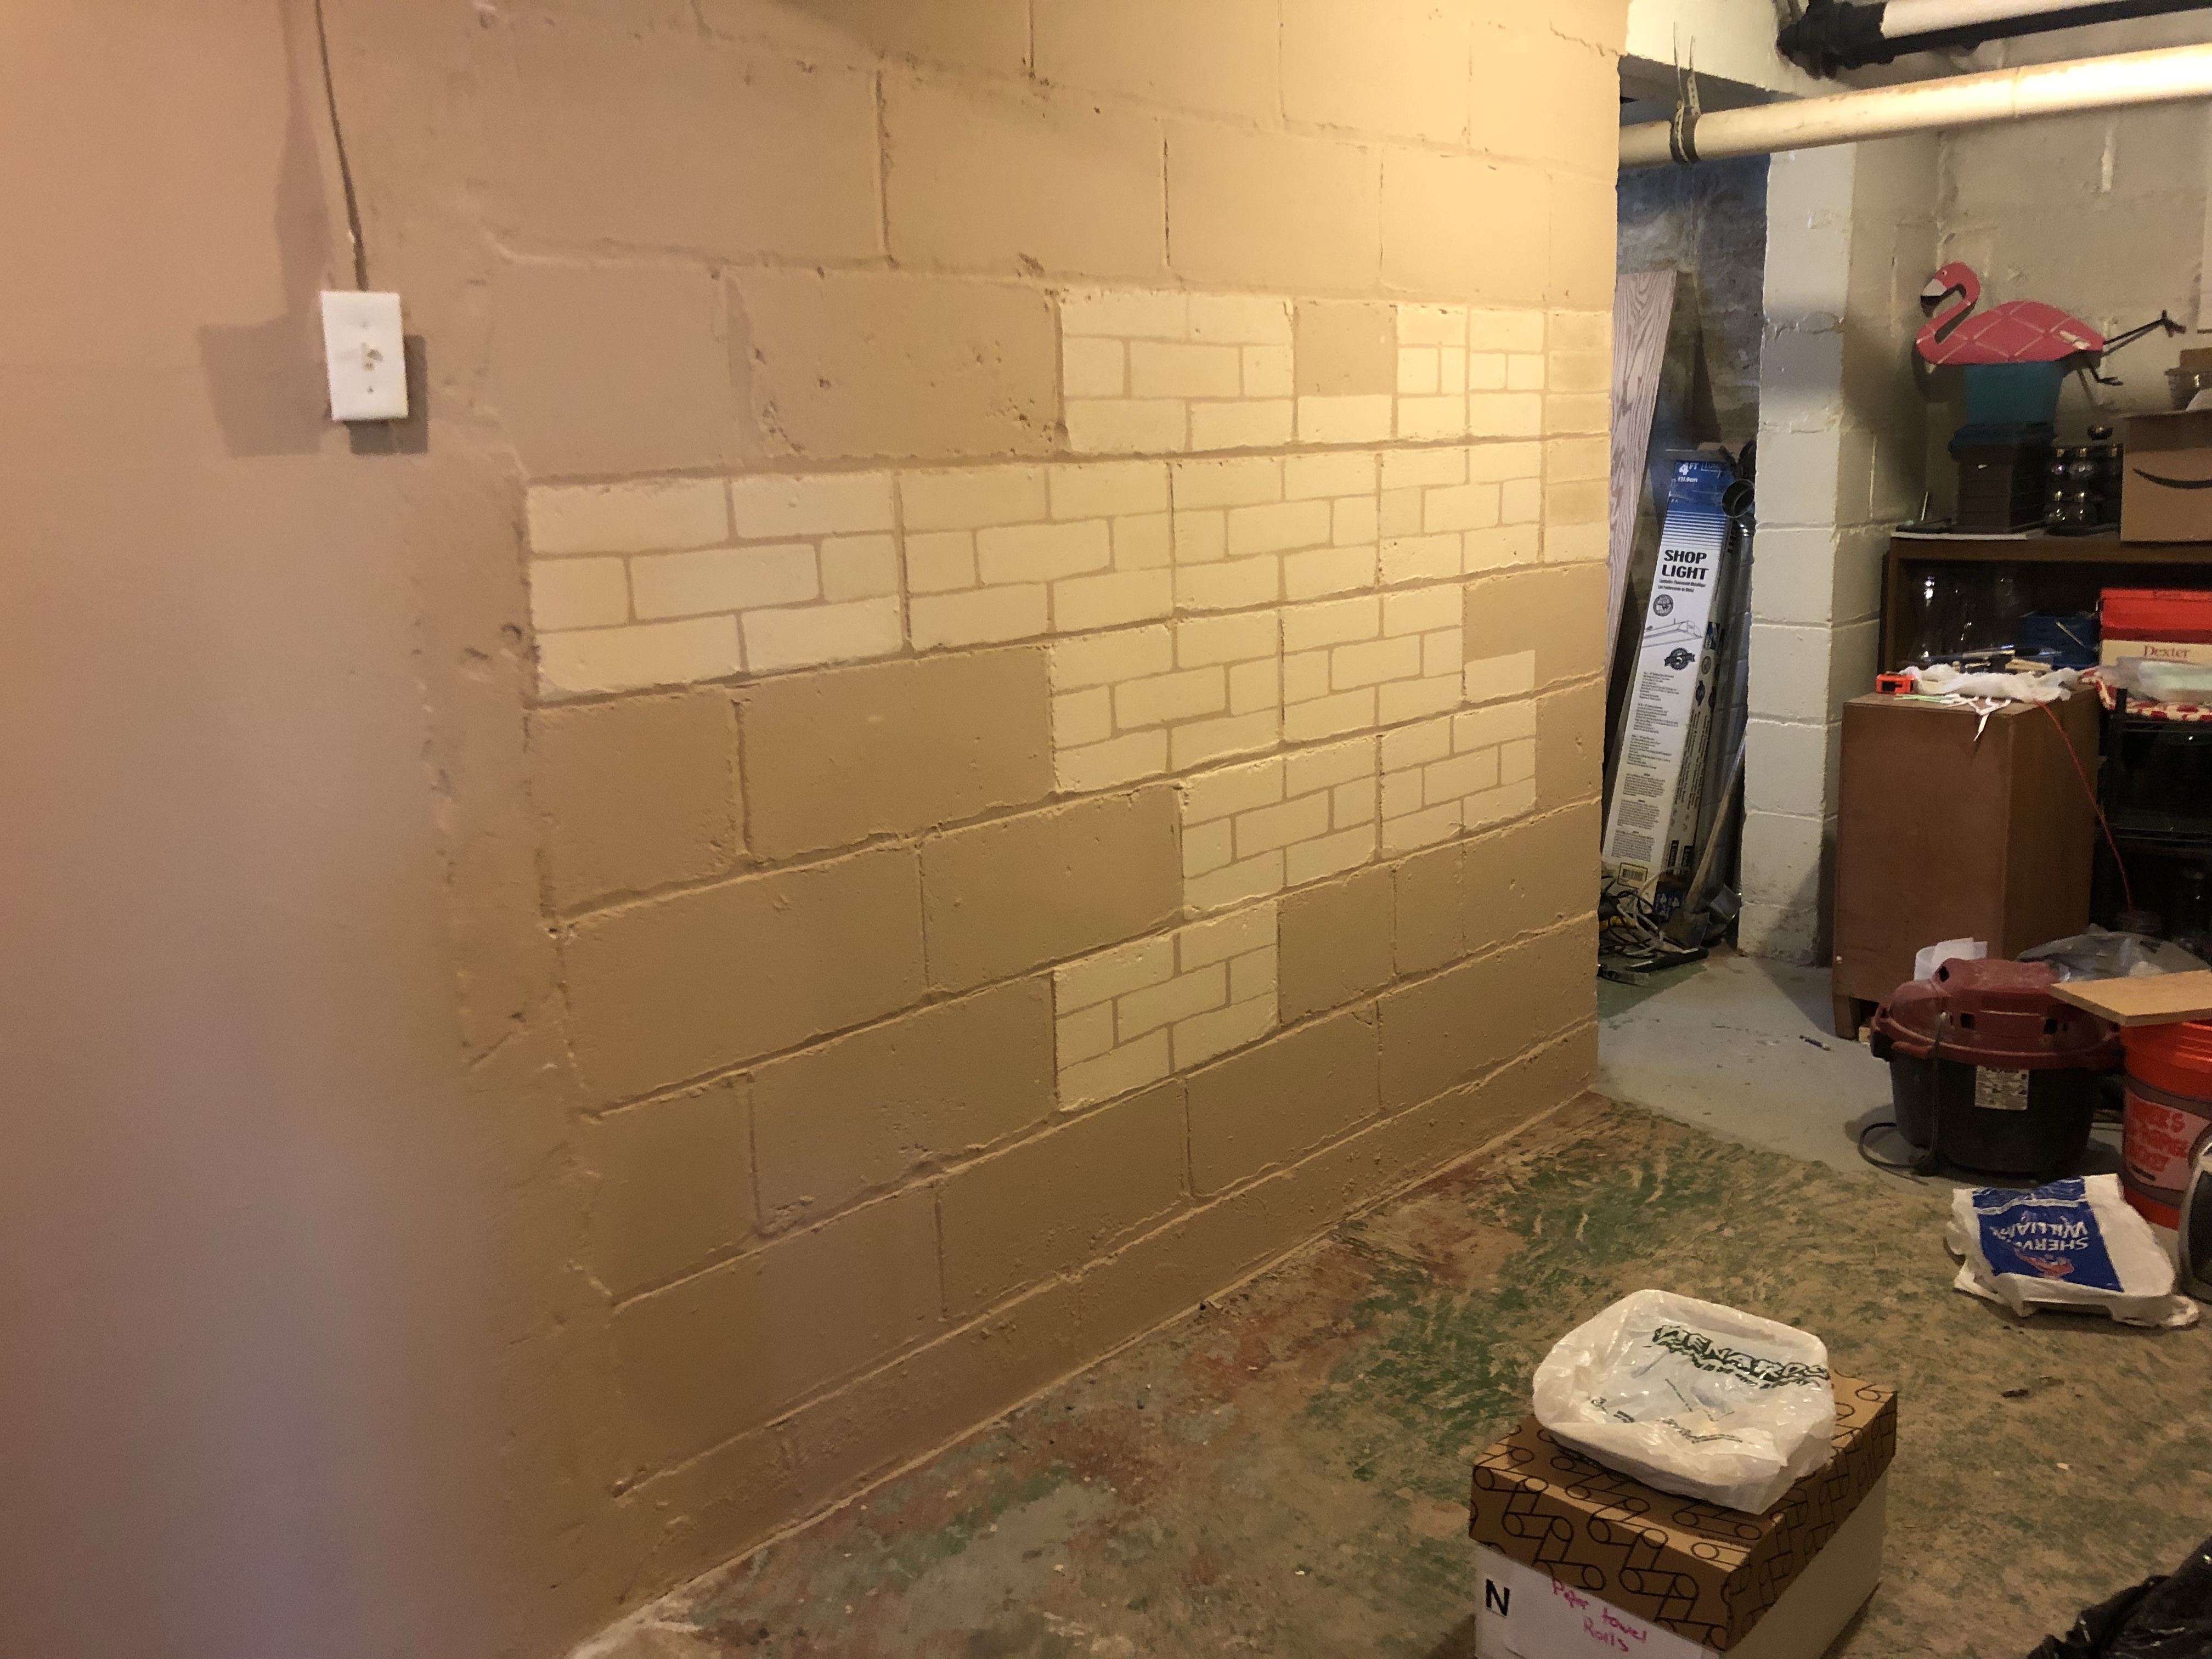
I started with mixing some colors- but the effect was very washed out / blended into the grout, crappy nasty bricks. I didn’t like it and was able to quickly enough determine to use our ‘brick’ color solid- no mixing no color effect.
You can see several to the right that are faded and then the left is the pure brick color.
I went back and touched up those first several bricks and painted for about 4 hours the result… dadadadadada was hardly anything. 🤨. My learning curve and going back and touching up the first bricks took almost half my time alone!
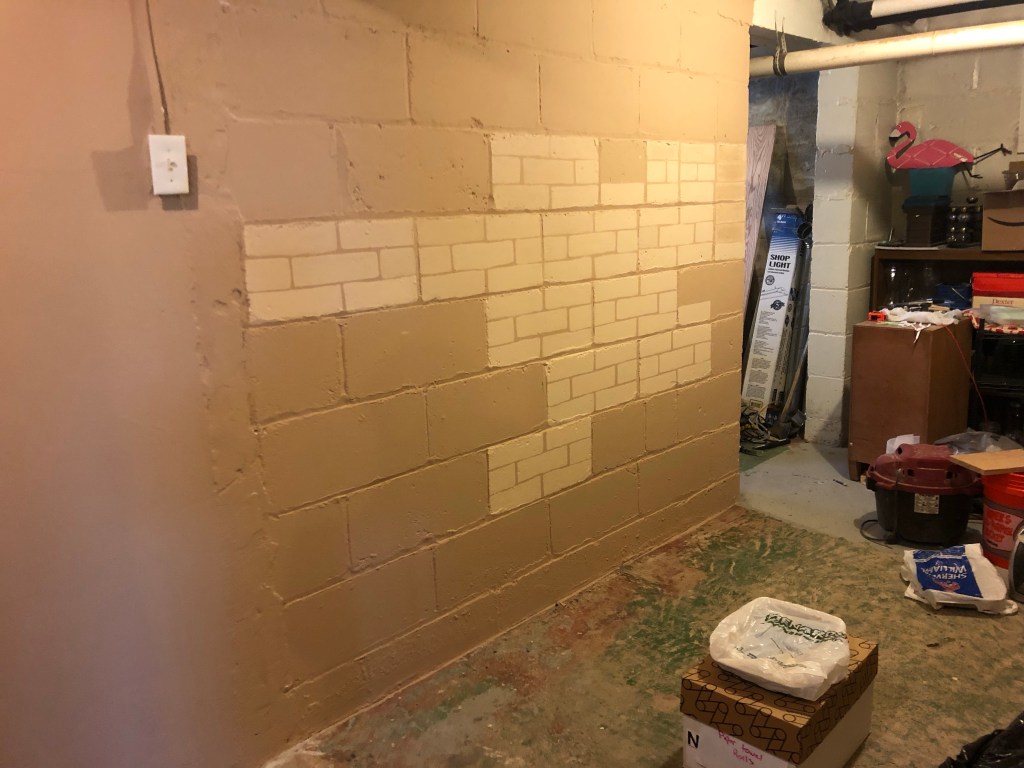
Saturday the fake hubby joined me and we worked until about 2p and then a few friends came by for 3p wine happy hour!
My secret? I ordered sponge mop heads. One to cut in half and one to use whole. I also had to take a scissors and just cut a quarter inch or so to make them skinnier so that three could fit inside one block so I could use the same as my grout lines for some depth and definition. I think it helps make it a little more real! I will show this in my next post!
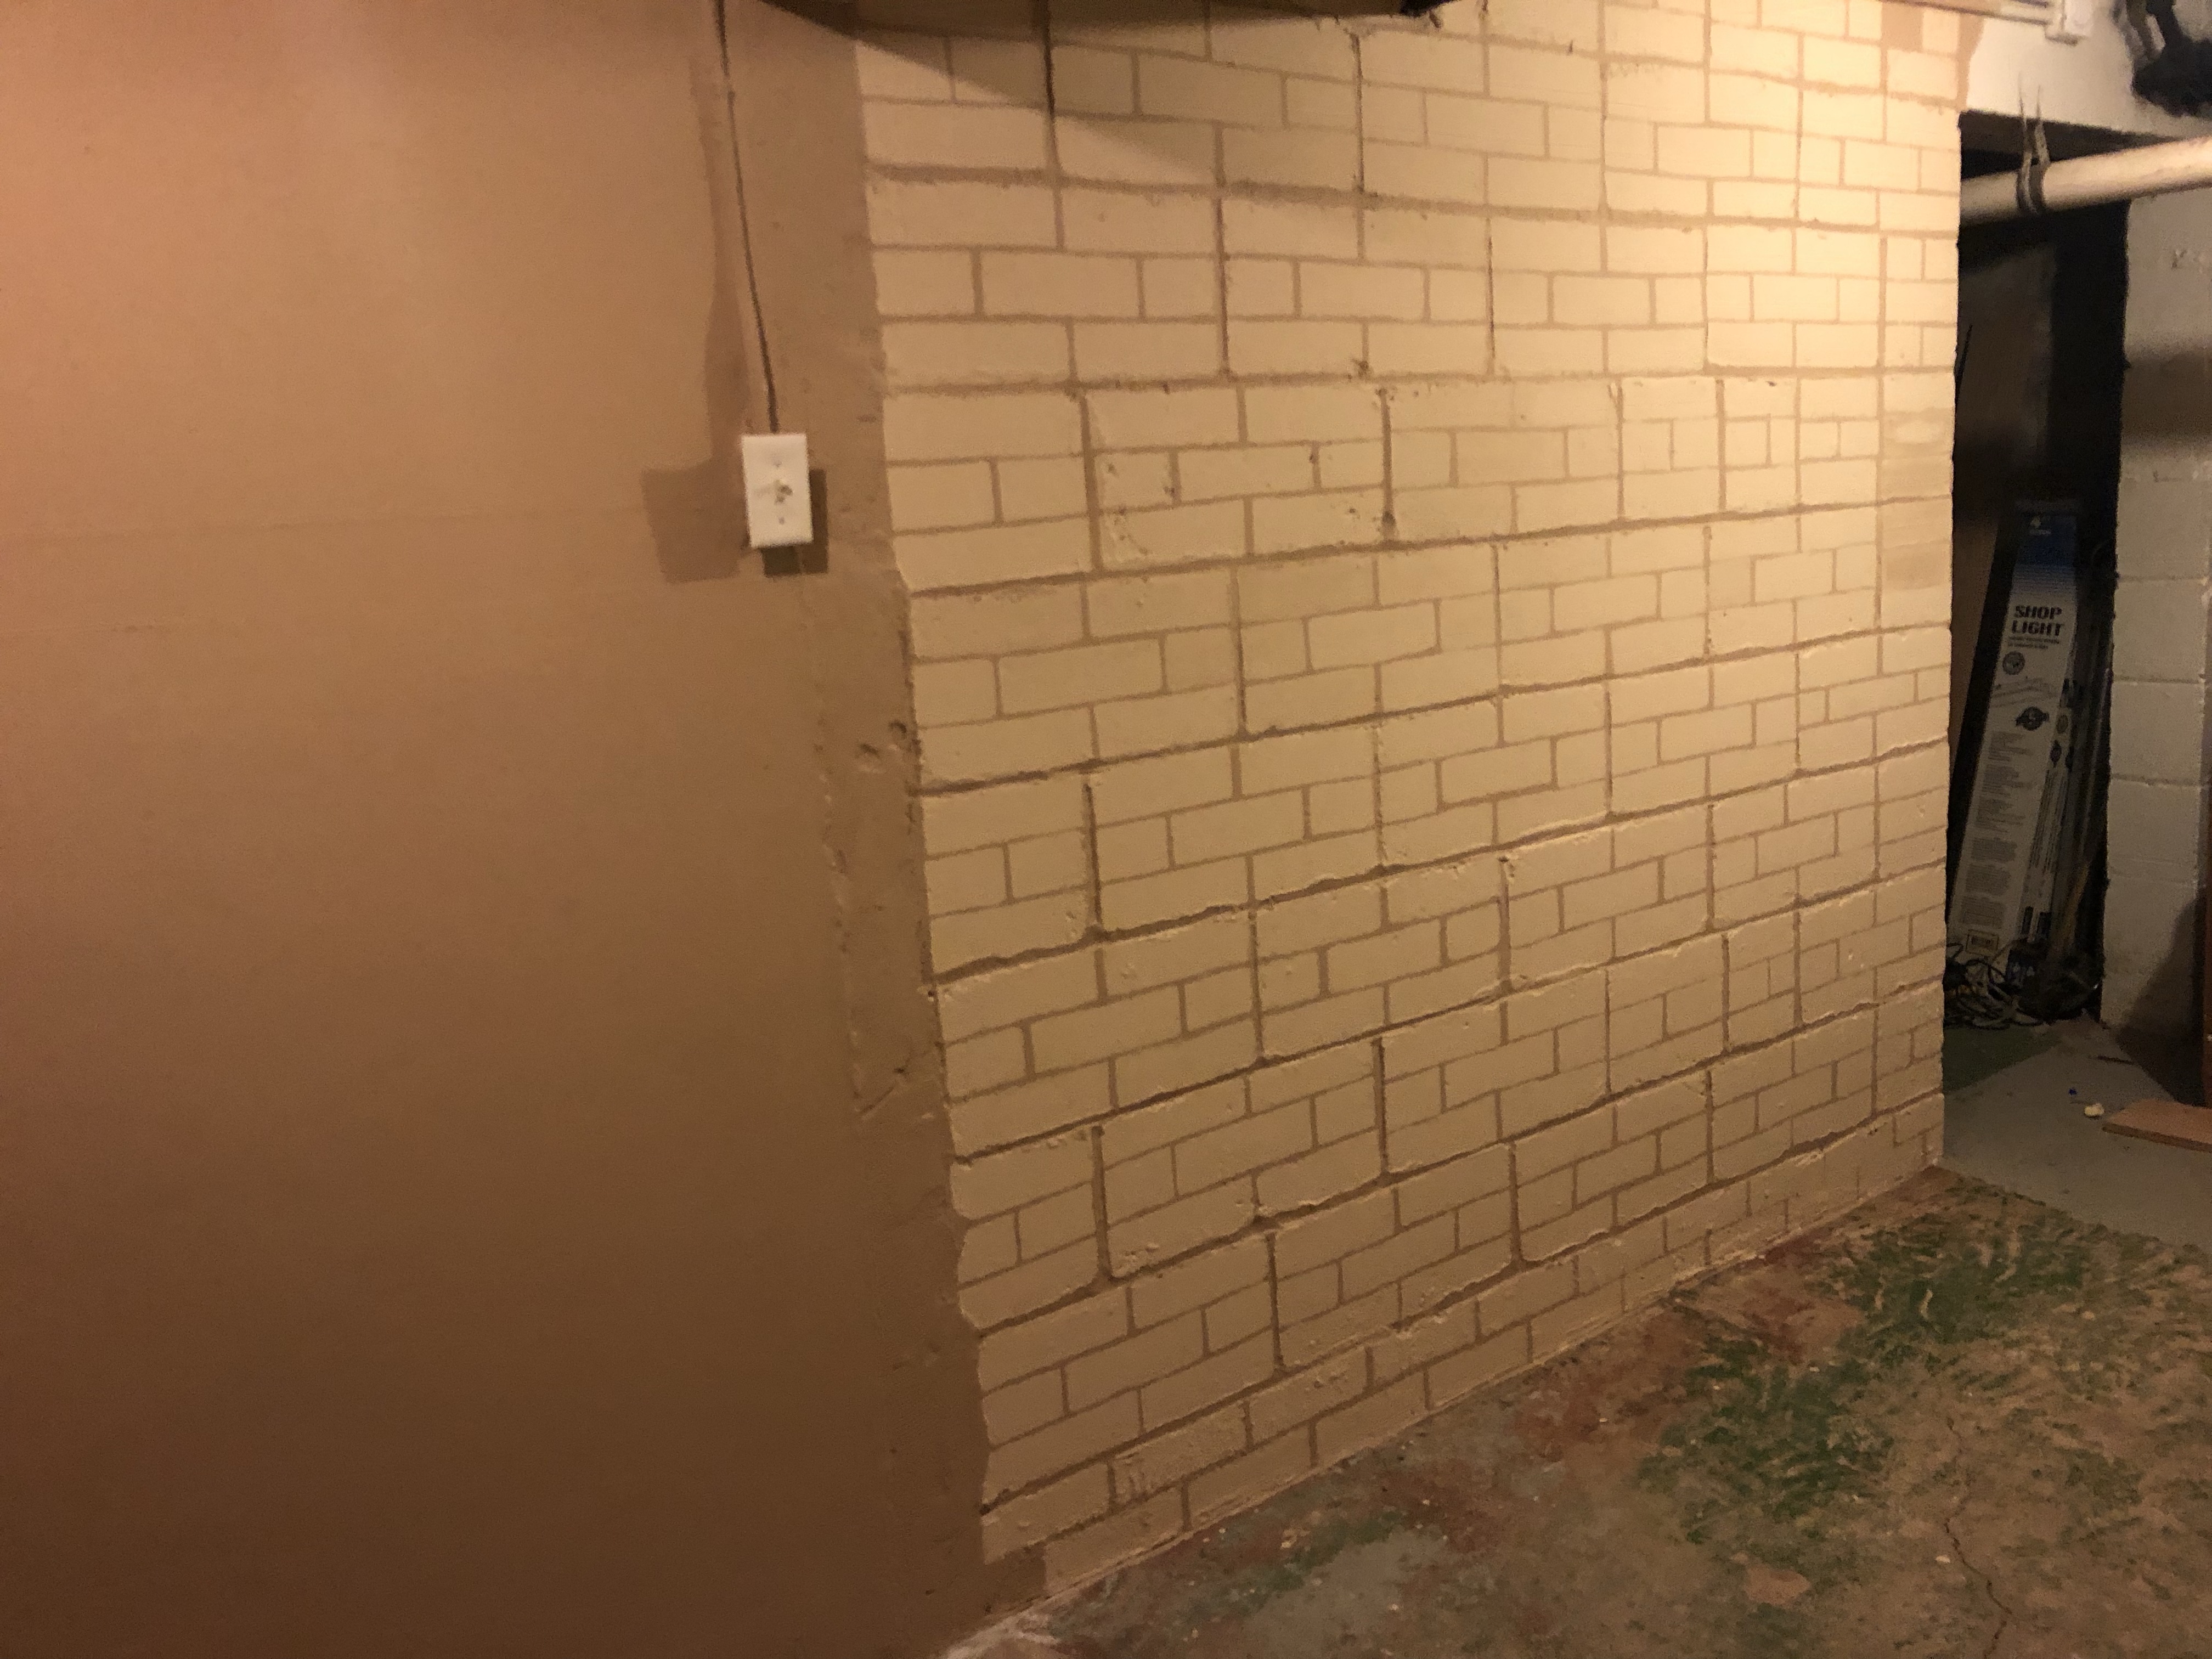
Sunday we again hit things hard. With two of us going we made decent progress and had both of the block walls done before Buppa’s Bday shindig on February 29th!
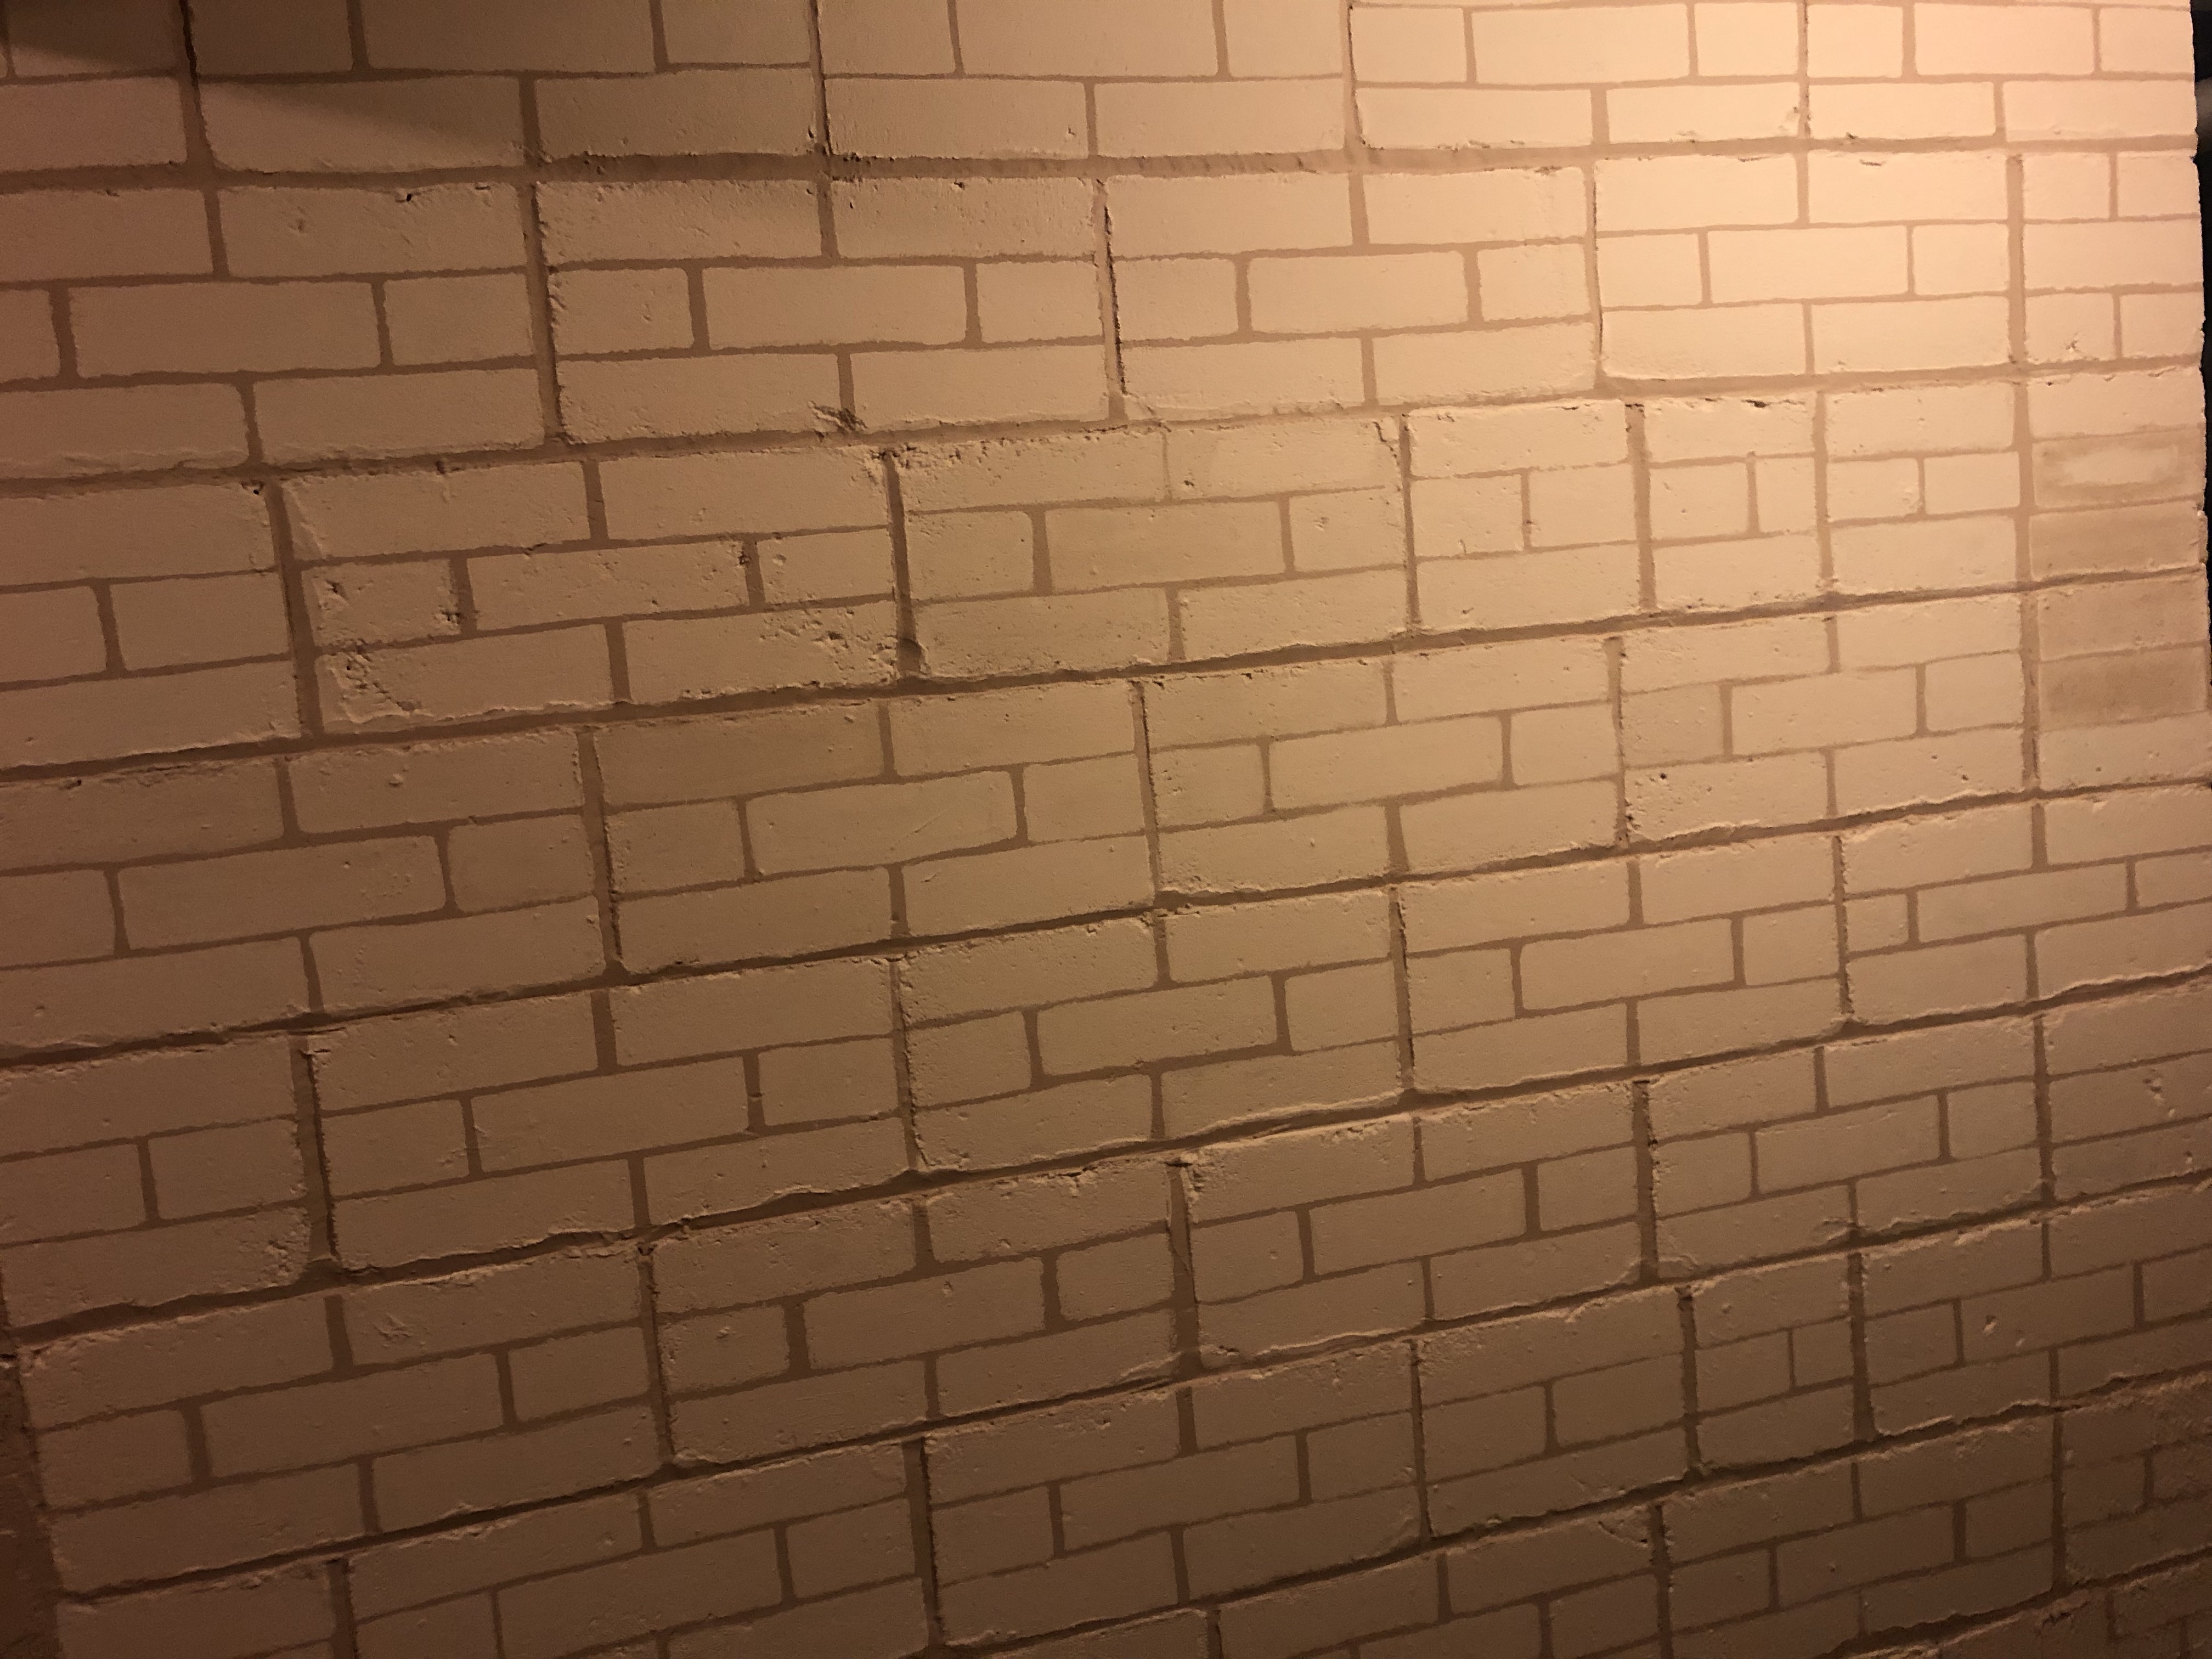
We still have grout lines to touch up- but I really like the way they came together!
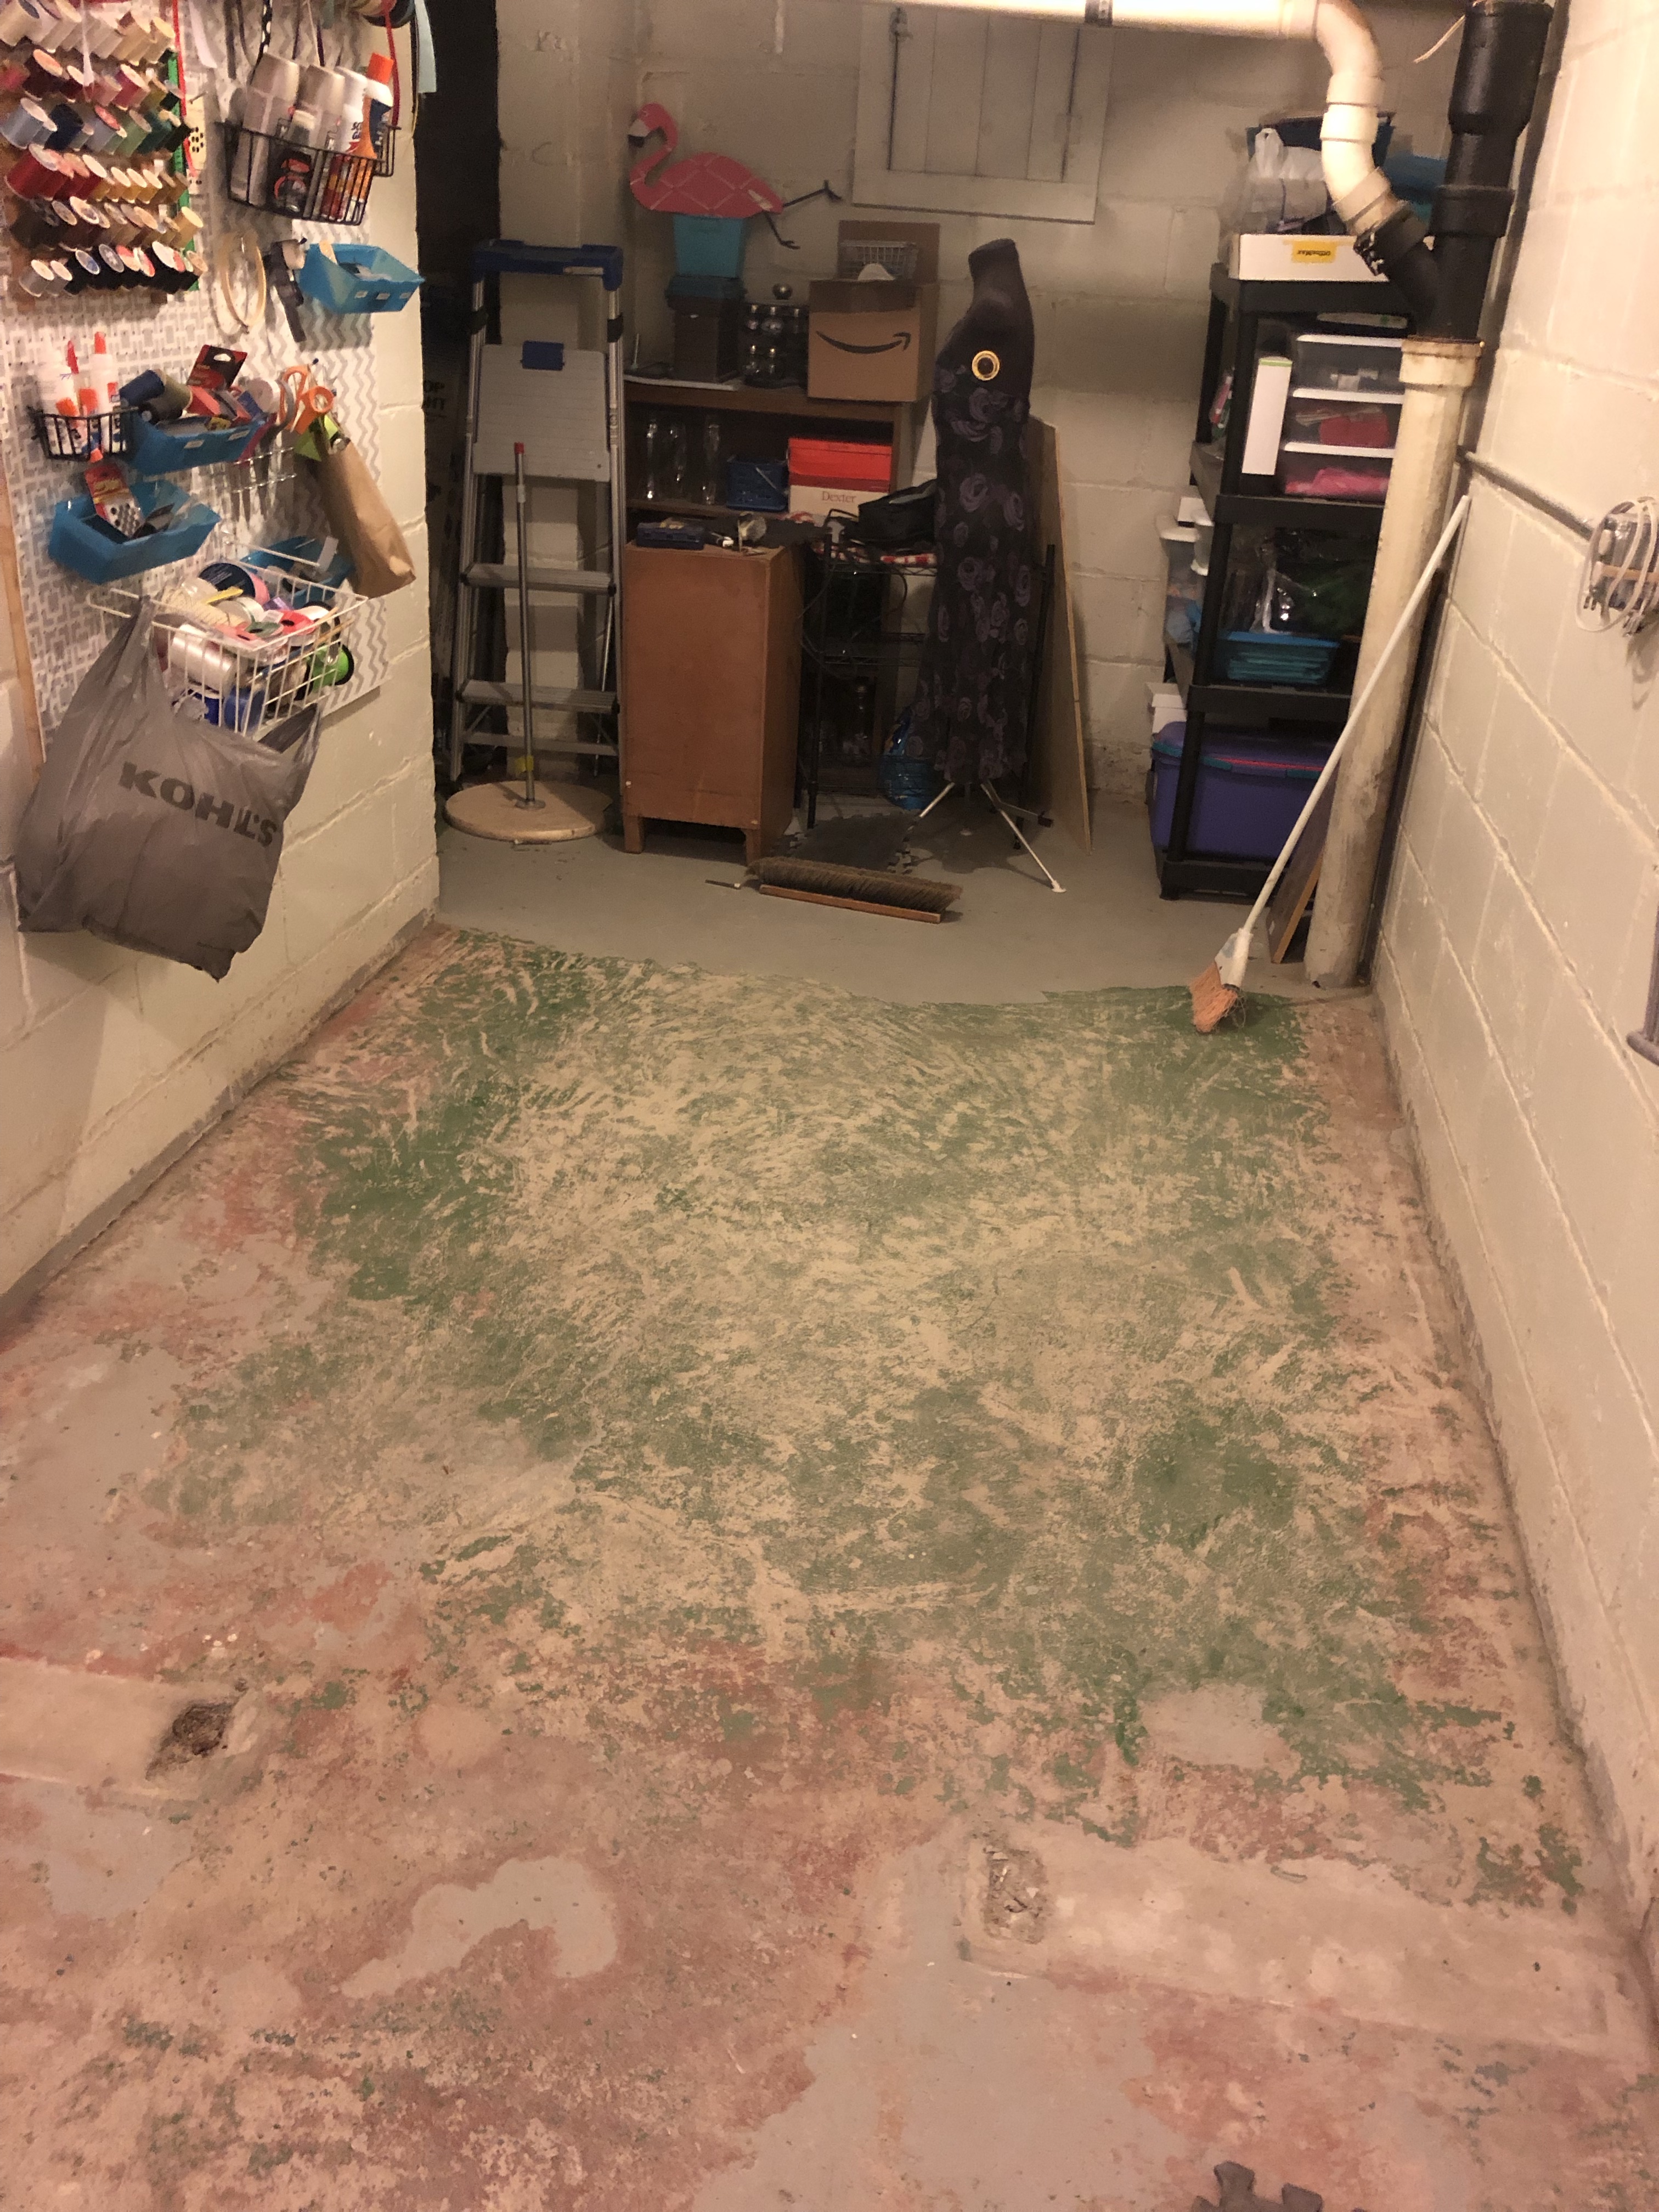

And now- I am all caught up to where we are today! As last weekend we were at Mom’s for Buppa’s 96th Bday, and we haven’t had much time during the week this week to continue our project.

It looks great!
LikeLike